Have you ever wondered how to embed your YouTube video in your website? You’re in the right place, because in this post I’m going to show you exactly how to do that in 10 easy steps.
On my WordPress blog I have another blog post called “Planning Your YouTube Marketing Publishing Schedule.” I’ll be using that post as an example.
First of all, make sure you have all the blog content inserted just like you want it. Include all your images and everything.
Then find the place in your blog post where you want to embed your video. For instance,
Down at the bottom of my post, I have some text that says, “watch my video on planning your schedule here.”
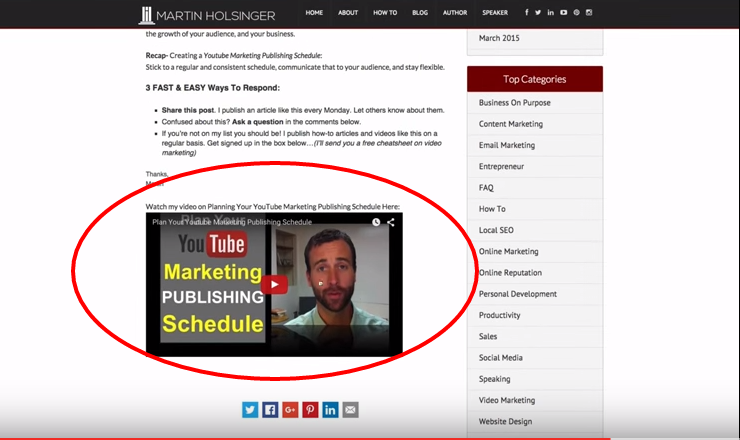
Underneath this text, I want to have my YouTube video embedded so that it actually plays. I don’t want it to redirect people to YouTube… But I want it to actually play on my website. That way my visitors can just click and play the video from the blog post.
Let me show you how to do this – in 10 Easy Steps.
#1. Login to your YouTube channel
#2. Find the video you want to embed
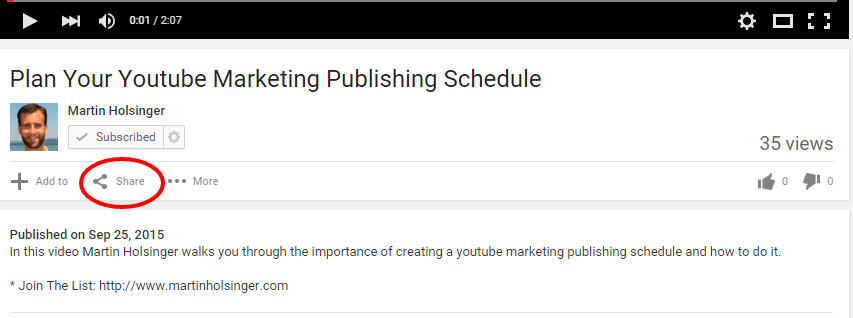
#3. Click on “share.”
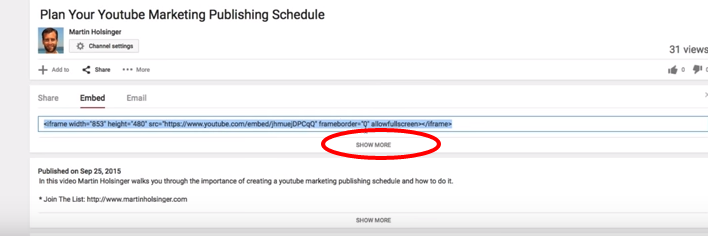
#4. Find the embed code.

Note: You could just grab the embed code and go with it. But I want to show you how to easily change it so that it works best for your website.
#5. Click “show more.”
#6. Then scroll down and adjust your settings.
You can see that there are a few different options.
I’m going to go through these sharing options real quick:
- Privacy enhanced mode. Let me explain what that is. YouTube says that “Enabling this option means that YouTube won’t store information about visitors on your webpage unless they play the video.” So, I usually leave that turned off.
- I usually don’t want to show suggested videos when the video finishes, so I click that off too.
- However, the YouTube player controls are nice. If you’re video is on your website, you want to have the video player bar, so that people can rewind or watch the video as they choose to.
- I also leave the video title and player actions checked.
#7. Set the size of your video player.
You can then choose which size of video player you will embed. Of course you could change it manually to any custom size you want by changing the numbers in the code up here.
However, 640px width is about the maximum I really want on my blog anyway, so there’s no reason to embed a larger video. I like to change that to 640 X 360.
#8. Copy the code to your clipboard.
Note! Make sure the embed code is highlighted.
#9. Paste the code into your blog post.
Now go back to your blog post. If you just paste the code in to the WordPress visual editor, it’s not going to work.
So, go up and click on the text editor, and then paste it in to the exact spot on your post that you want it.
#10. Check your post.
Then check to see if it works. Click “preview changes,” scroll down, and sure enough… there it is. The video is now embedded in your blog post, and ready to go.
There you have it. That is how you embed a YouTube video into your website in 10 easy steps.
If you liked this post, you’ll also enjoy these related posts:


